The Leader in CT Emission Testing in South Windsor, CT! - Only $20 - No Appointment Required
IMPORTANT UPDATE: Our email has changed. To contact Precision Motor Coach, please email us at [email protected]
Looking for Reliable Auto Repair in South Windsor CT?
Finally A Mechanic You Can Trust Near Me in South Windsor, CT.
Precision Motor Coach
We help car owners in South Windsor CT keep their cars running smoother and lasting longer with our world class guaranteed “Make-You-Happy” auto service.
CLICK FOR SOUND

Over 110 Google 5 Star Reviews couldn't be wrong!
Customers are talking about us...
...and here's what they're saying!
...the experience was excellent! The service was incredibly fast... Highly recommend...
“I recently visited Precision Motor Coach for an oil change, and the experience was excellent! The service was incredibly fast—everything was done in just 10 minutes. The staff was professional, and the process was smooth and hassle-free. Highly recommend for anyone looking for quick and efficient vehicle service!”
RAJA

The staff is professional and friendly...
“Great place to get emissions done. They are usually busy, but get you in and out as quickly as they can. The staff is professional and friendly and the waiting area is air conditioned and roomy.”
Joe Jarvis

...hands down the best place for emission testing!
...the whole process quick and hassle free.
“Precision Motor Coach is hands down the best place for emission testing! I’ve never experienced long waits here they get right to work as soon as you arrive, making the whole process quick and hassle free.”
M Q

...very friendly & professional...I would suggested you get your car service here...
“On point very friendly & professional one of the guys Ardy I go in just to speak to him. He's the light at the end of the tunnel really good people I would suggest you get your car service here well worth it!”
Jamie Cooper

All the reviews & recommendations on Facebook did not lie.
“I went there for the first time today. All the reviews & recommendations on Facebook did not lie. They are prompt and take care of your vehicle. This will be my go to place for my car.”
Sylvia Overton


Over 110 Google 5 Star Reviews couldn't be wrong!
We're a "full service" repair shop and these are the most common services we do!
The most popular auto repair services we do
EMISSION TESTING
CT Emission Testing Only $20
No Appointment Needed
Complete Test Takes About 15 Minutes
ALL THE DETAILS ABOUT CT EMISSION TESTS AT PRECISION MOTOR COACH

OIL CHANGE
Keep Your Engine Running Smooth
Regular oil changes are the easiest and most important maintenance your vehicle needs. Our quick 10-minute service uses the right oil for your car—whether synthetic or conventional—to prevent engine breakdown and costly repairs. Don't let old oil turn to sludge and destroy your engine!

AIR CONDITIONING
Stay Cool When It Counts
Beat the heat with professional A/C service that keeps you comfortable year-round. Our experienced technicians diagnose and repair all makes and models, ensuring your air conditioning system runs efficiently when you need it most.

BRAKES
Your Safety Is Our Priority
Trust your stopping power to our brake specialists. We provide thorough brake inspections with every tire rotation and expert brake pad replacement when needed. Don't compromise on safety—worn brake pads put you and others at risk.

BATTERY & ELECTRICAL
Power You Can Count On
From check engine lights to electrical issues, our multi-point inspections identify problems before they leave you stranded. Whether it's a loose gas cap or something serious, we'll diagnose it accurately and keep you safely on the road.

ENGINE SERVICE
Peak Performance Guaranteed
When your car isn't performing like it should, our certified technicians get to the root of the problem. We provide comprehensive engine diagnostics and repairs to restore your vehicle's power and efficiency.

TRANSMISSION
Smooth Shifting, Reliable Driving
Keep your transmission running smoothly with professional service from our expert team. We handle all transmission issues to ensure reliable shifting and optimal vehicle performance for years to come.

WHEELS & TIRES
Maximum Traction, Maximum Life
Our wheel alignment service extends tire life and improves handling. Regular tire rotation every 5,000-8,000 miles ensures even wear, saves money on premature replacements, and keeps you safely on the road in all conditions.
MUFFLER & EXHAUST
Quiet Performance, Clean Emissions
Professional exhaust system service keeps your vehicle running quietly and efficiently. Our team handles all muffler and exhaust repairs to ensure proper emissions and optimal engine performance.
Add any details about your services, what services you specialize in or any other details your customers would want to know.
In short, what makes you different; Why should I choose you?

Over 110 Google 5 Star Reviews couldn't be wrong!
The most common questions we get
FAQ's
These are the most common questions we get asked. If these FAQ’s still don’t answer your question, don’t hesitate to pick you the phone and call us at 860-282-1118 and we’ll get the answer to any question you’ve got!
What Should I Do When My Check Engine Light Comes On?
Don't panic, but don't ignore it either. First, check if your gas cap is loose – tighten it and see if the light goes off after a few driving cycles. If the light is steady (not flashing), you can continue driving but schedule an inspection soon. If it's flashing, pull over safely and turn off the engine – this indicates a serious problem that could cause expensive damage. The light indicates your engine's computer has detected an issue that affects emissions or performance. While it might be something minor, only a diagnostic scan can determine the exact problem.
What happens if I ignore my low tire pressure warning light?
Ignoring low tire pressure can lead to dangerous blowouts, especially at highway speeds. Underinflated tires wear unevenly and much faster, reducing their lifespan by up to 50%. Your fuel economy also suffers – properly inflated tires can improve gas mileage by up to 3%. Low pressure affects your vehicle's handling, braking distance, and stability, particularly in wet conditions. The tire pressure monitoring system is a safety feature designed to prevent accidents and save you money. Check your tire pressure monthly and always address the warning light promptly.
How often should I have my brakes checked?
Have your brakes inspected at least once a year or every 12,000 miles, whichever comes first. However, pay attention to warning signs that indicate more frequent checks are needed: squealing, grinding, or scraping noises; vibration when braking; pulling to one side; or a spongy brake pedal feel. If you drive in stop-and-go traffic, mountainous terrain, or tow heavy loads, you may need more frequent inspections every 6 months or 6,000 miles. Regular brake inspections can catch problems early, preventing more expensive repairs and ensuring your safety.
How often should I have my brake pads replaced?
Brake pads typically need replacement every 25,000 to 70,000 miles, depending on your driving habits, vehicle type, and pad material. City driving with frequent stops wears pads faster than highway driving. Signs your brake pads need replacement include squealing noises (brake pad wear indicators), grinding sounds (metal-on-metal contact), reduced braking performance, or visual inspection showing less than ¼ inch of pad material. Semi-metallic pads last longer but are noisier, while ceramic pads are quieter but more expensive. Your mechanic can measure pad thickness during regular brake inspections.
What type of engine oil should I use? What happens when I don't change my oil?
Use the oil grade specified in your owner's manual – typically 5W-30 or 0W-20 for most modern vehicles. Synthetic oil lasts longer and performs better in extreme temperatures, while conventional oil is more affordable. High-mileage oil is designed for vehicles over 75,000 miles.Skipping oil changes is catastrophic for your engine. Oil lubricates moving parts, removes contaminants, and helps regulate temperature. Without regular changes, oil breaks down, becomes thick and sludgy, and loses its protective properties. This leads to increased friction, overheating, and eventually complete engine seizure – a repair that often costs more than the vehicle's value.
Do I really need winter tires? What's the point of a tire rotation?
Winter tires are essential if you regularly drive in snow, ice, or temperatures below 45°F. They're made from softer rubber compounds that remain flexible in cold weather, providing better traction than all-season tires. The tread patterns are specifically designed to bite into snow and evacuate slush. In many regions, winter tires are legally required.Tire rotation ensures even wear across all four tires, extending their lifespan by up to 30%. Front tires typically wear faster due to steering and braking forces. Regular rotation every 5,000-8,000 miles helps maintain balanced traction and prevents premature replacement of just two tires.
Why does my vehicle need a coolant flush?
Coolant doesn't just prevent freezing and overheating – it also contains corrosion inhibitors that protect your engine's internal components, radiator, and water pump. Over time, these additives break down, and the coolant becomes acidic, potentially causing expensive damage to gaskets, seals, and metal components.A coolant flush removes old, contaminated fluid and replaces it with fresh coolant, restoring the system's protective properties. Most manufacturers recommend flushes every 30,000-50,000 miles or 3-5 years. Signs you need a flush include rusty or muddy-colored coolant, overheating, or white residue around the radiator cap. Regular flushes prevent costly repairs to your cooling system and engine.

Over 110 Google 5 Star Reviews couldn't be wrong!
Meet Your Auto Repair Shop
Your World Class Auto Service is about to begin!
ABOUT US
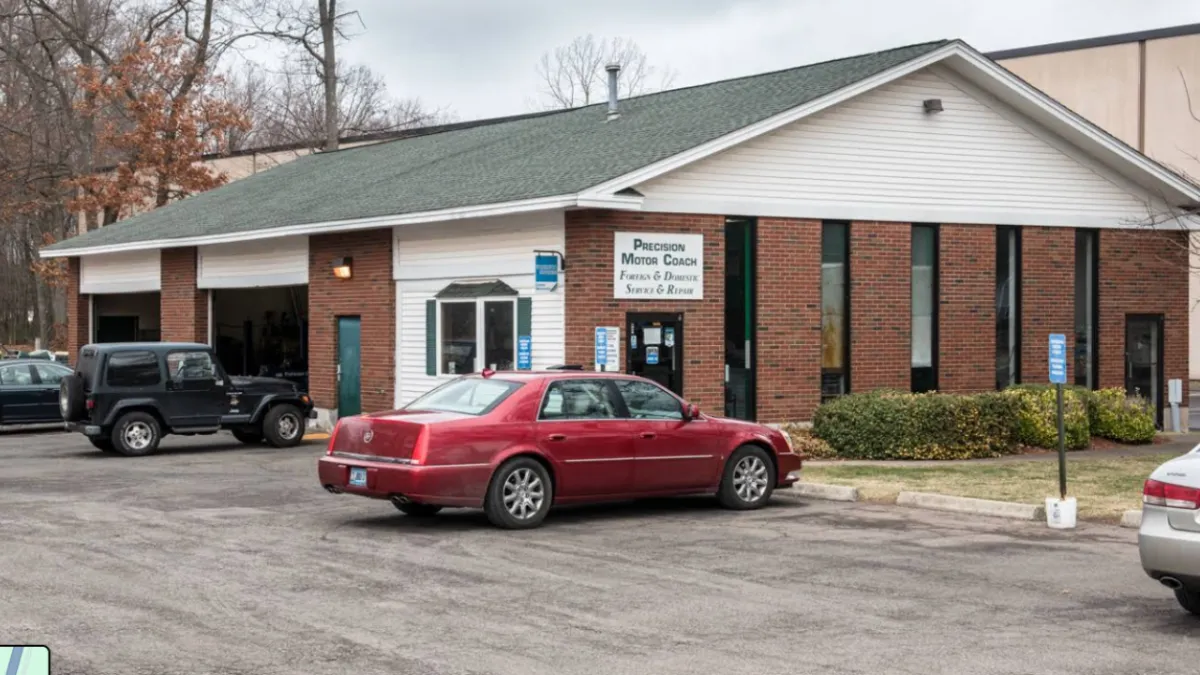
Where Excellence is Built—Home of Precision Motor Coach Auto Repair Garage - 1281 John Fitch Blvd. (Route 5), South Windsor CT 06074
Discover the craftsmanship, care and quality auto service that defines Precision Motor Coach. From the time you book your service to our "Guaranteed To Make You Happy" service, you're in good hands at Precision Motor Coach!
Searching for trusted auto repair in South Windsor CT., 06074?
Precision Motor Coach is your personal auto doctor
We’ve been serving car owners throughout south windsor, east windsor, manchester, enfield, east hartford and broad brook since 1994!
We're “Your Personal Auto Doctor Keeping Your Vehicle In Good Mobile Health”
Your "Done Right the First Time" repair shop!

- Master Certified ASE L1 Technician for over 30 years
- State of Connecticut Certified Emissions Repairer since 1995
- Certified Master Technician for Acura & Nissan
- Certified Technician for GM & Audi
- Sat on the DMV Emissions Advisory Board since 2003
Am I the best?
There’s only one way to find out. Book your auto service appointment online right now or pick up the phone and call us at 860-282-1118.


FULL SYNTHETIC OIL CHANGE & FREE CAR WASH
Upgrade your Oil Change Service to a PREMIUM Full Synthetic oil that will increase your engine protection and you’ll get a FREE CAR WASH! That’s right, you’ll get a FREE CAR WASH at Mr. Sparkle – and that will help protect the outside of your car
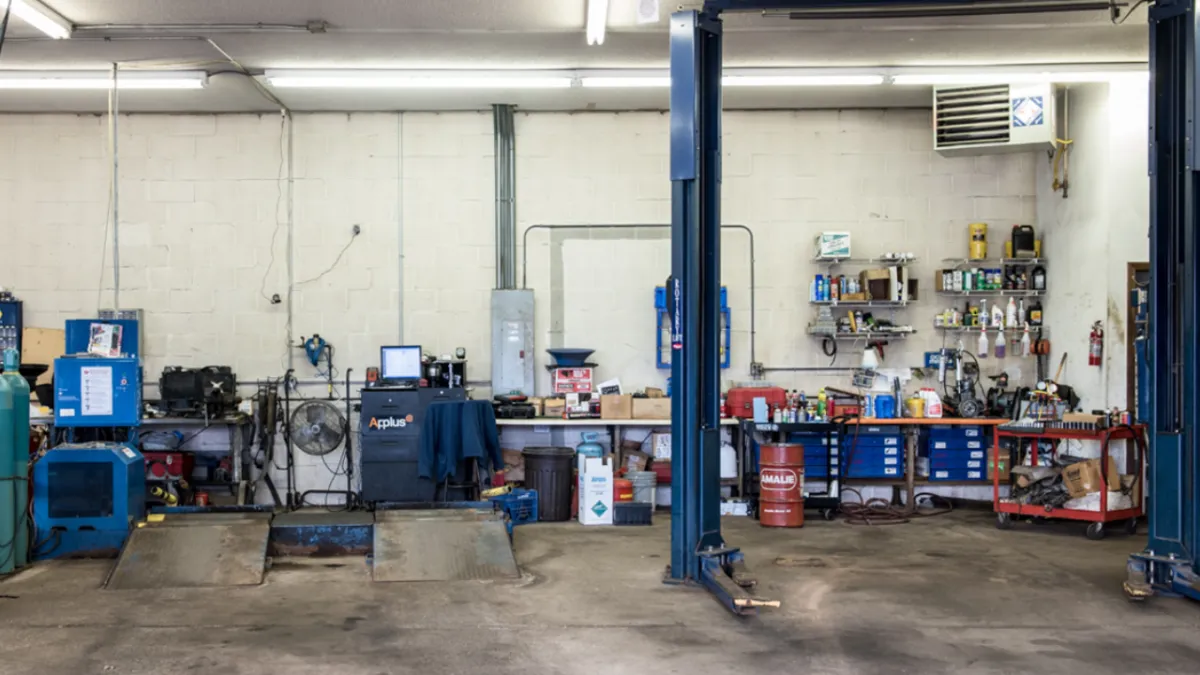
Expert Hands, Exceptional Service—Your Coach in Safe Hands
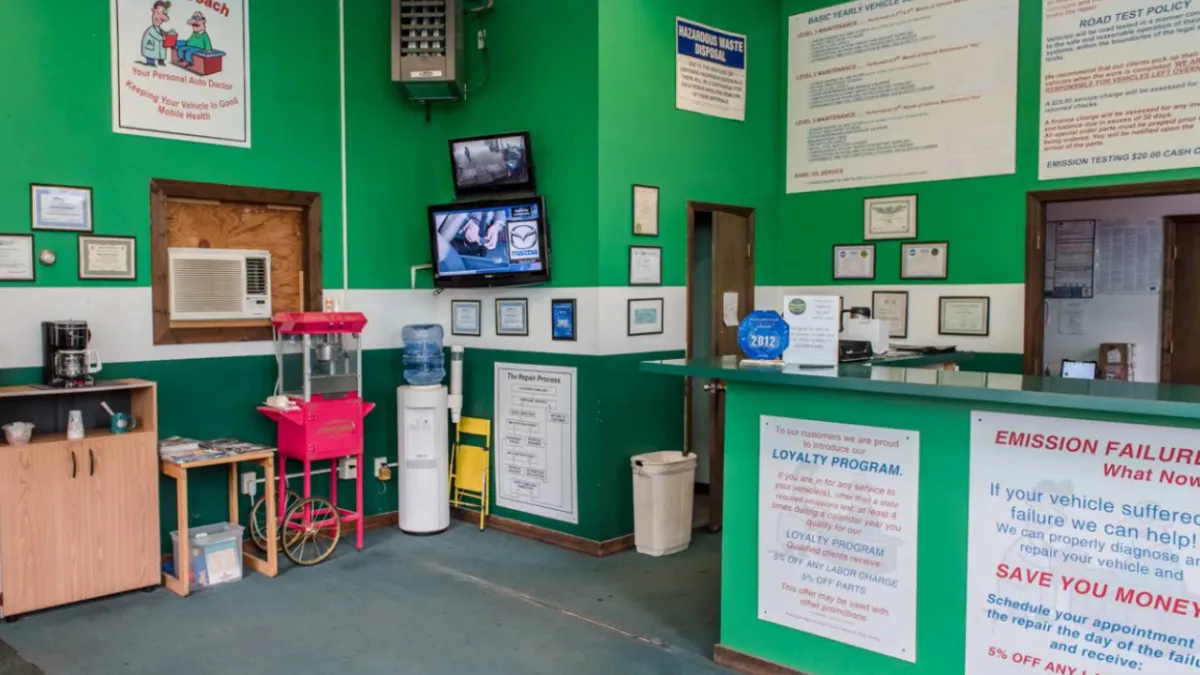
Welcome to Excellence—Where Every Journey Begins

Certified to Care—Recognizing Our Commitment to Quality

Over 110 Google 5 Star Reviews couldn't be wrong!
Contact us the way that's easiest for you!
Here's how You can get in touch with Precision Motor Coach
South Windsor's Best, World Class, Guaranteed to "Make-You-Happy" Auto Service experience!
Get In Touch with Precision Motor Coach
You can contact us several ways.
Call us : 860-282-1118
Email: [email protected]
HOURS
Monday: 8:00 am - 5:00 pm
Tuesday: 8:00 am - 5:00 pm
Wednesday: 8:00 am - 5:00 pm
Thursday: 8:00 am - 5:00 pm
Friday: 8:00 am - 5:00 pm
Saturday: 8:00 am - 1:00 pm
Sunday: Closed
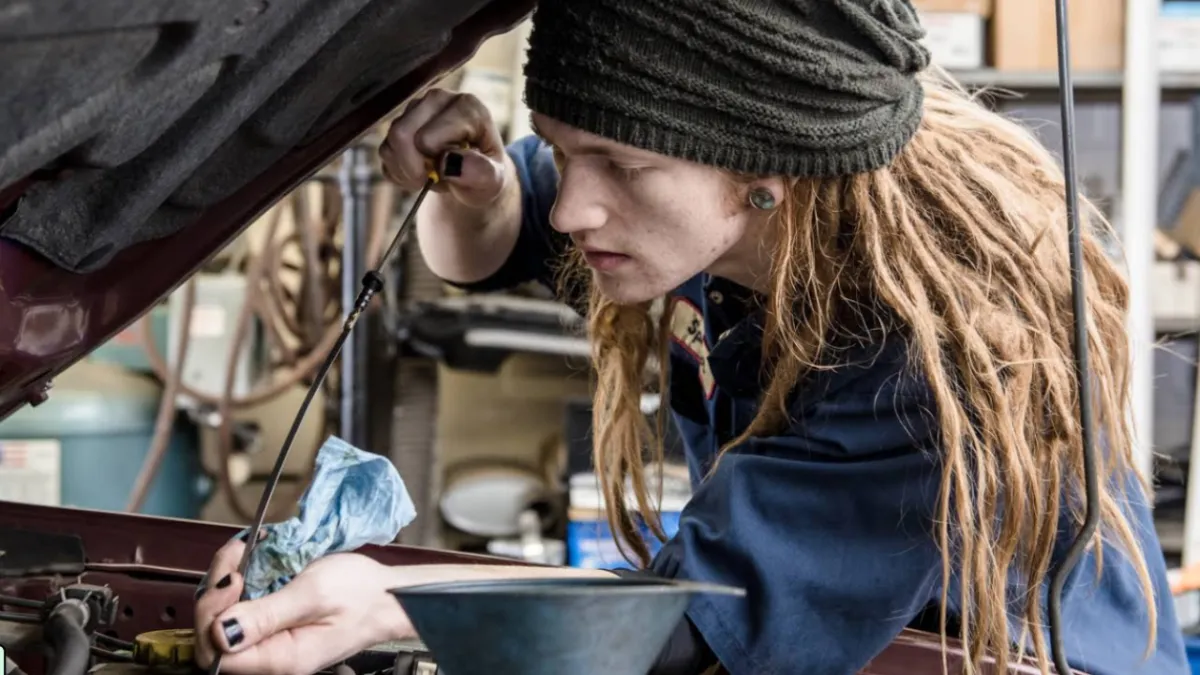
Service Technicians that really care about the service!
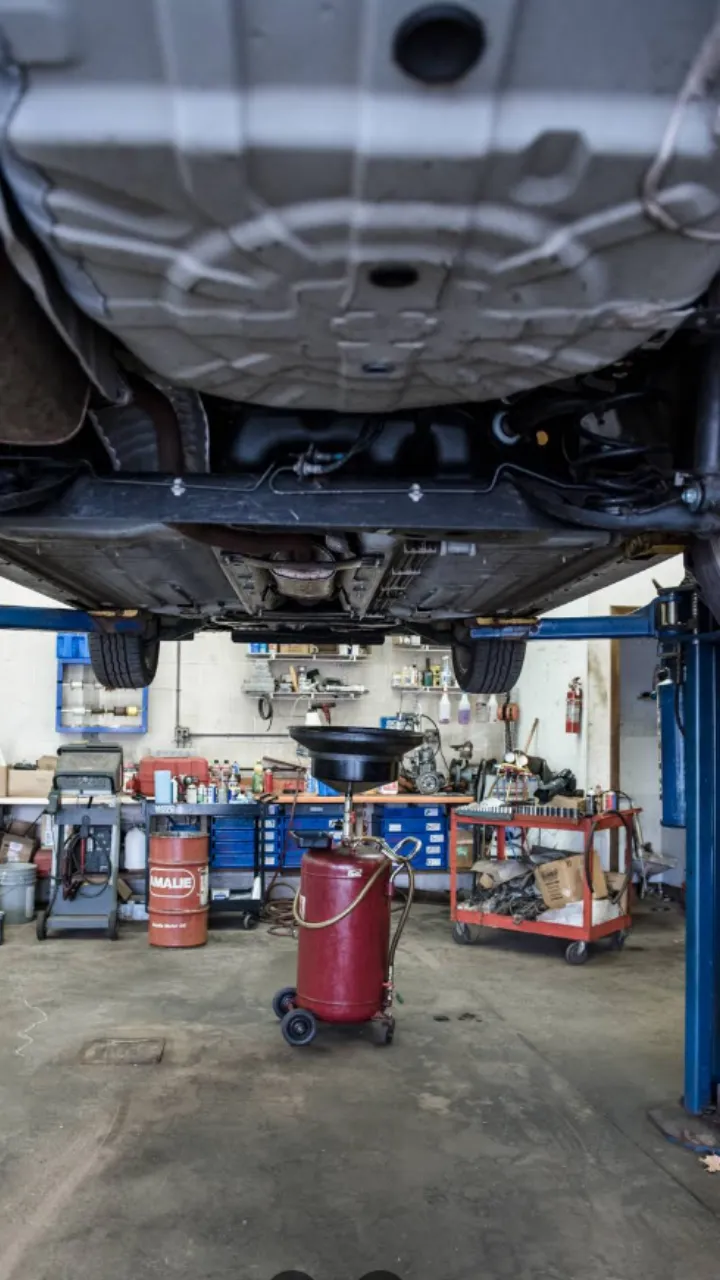
Precision Underneath—Meticulous Service, Every Time
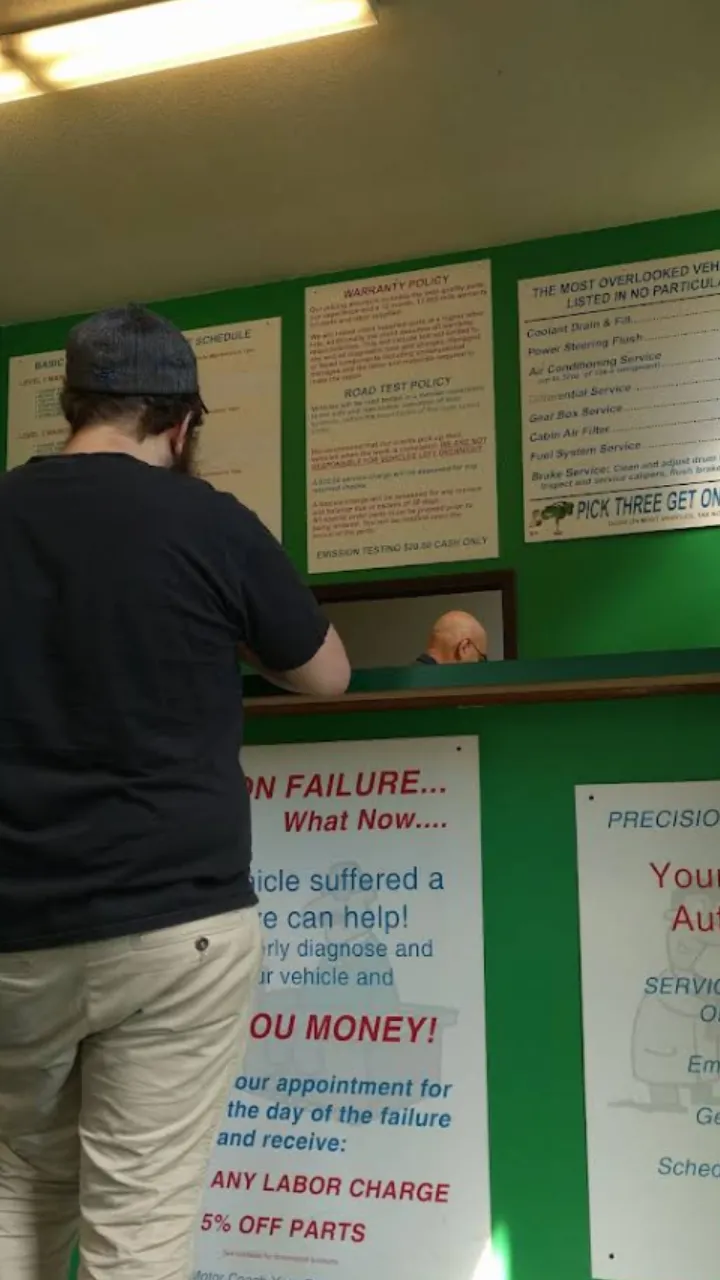
Satisfaction Guaranteed—Thank You for Trusting Our Team

Over 110 Google 5 Star Reviews couldn't be wrong!
We can't wait to see you!
Precision Motor Coach
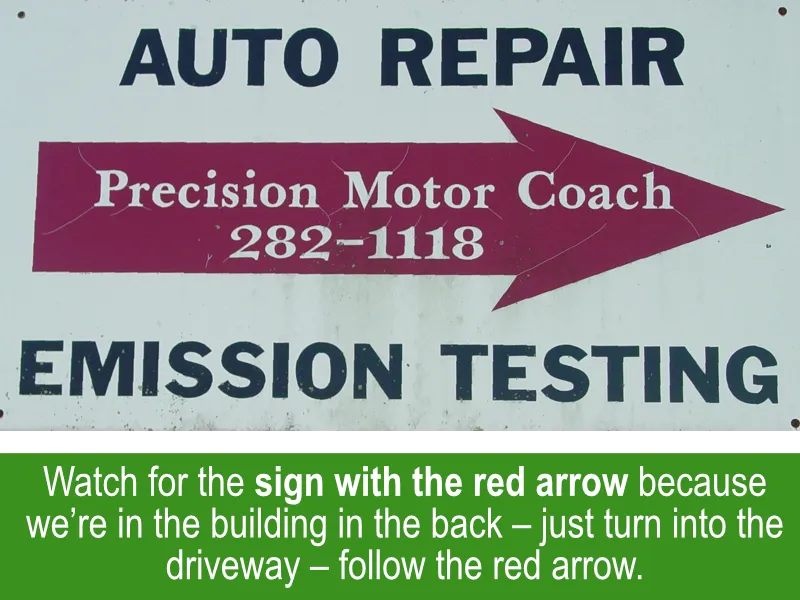
We’re the auto repair shop located at 1281 John Fitch Blvd. (Route 5), in South Windsor CT 06074. Watch for the sign with the red arrow because we’re in the building in the back – just turn into the driveway – follow with white sign with red arrow.


Over 110 Google 5 Star Reviews couldn't be wrong!
Precision Motor Coach
EMAIL: [email protected]
PHONE: 860-282-1118
1281 John Fitch Blvd. (Route 5),
South Windsor CT 06074
HOURS: MON – FRI: 8:00 AM – 5:00 PM
SAT: 8:00 AM – 1:00 PM
SUN : CLOSED
ACCEPTED PAYMENT

© Copyright: 2025 - GO-MO Digital;
All rights reserved


